A small harbour you have never visited, twenty minutes after sunset, a rising wind behind you and a scatter of red, green and white lights that could mean anything. This is the moment harbour entry marks stop being a chart exercise and become something you have to actually read. The good news is that the system is more logical than it looks, and a handful of habits will carry you into almost any port.
Approach marks are not decoration. Each one answers one of three questions: which side of the channel am I on, where is the channel's centre, and where is the shallow water?
Lateral buoys and beacons handle the first. Leading lines and transits handle the second. Sector lights handle the third, often with the depth of the water written into a colour. Before you trust any of them, check two things on the chart: which IALA buoyage region you are in, and which way "direction of buoyage" runs at this particular entrance.
Lateral marks line the edges of the navigable channel. In IALA Region A — most of Europe, Africa, Asia, Australia and New Zealand — port-hand marks are red and can-shaped, with red lights, and starboard-hand marks are green and conical, with green lights. Proceeding in the direction of buoyage, you leave red to port and green to starboard.
Region B works the other way round. The Americas, Japan, the Philippines and South Korea use green to port and red to starboard when entering, which is where the old American shorthand "red right returning" comes from. Mixed practice exists in the Caribbean, so read the chart rather than assuming.
The direction of buoyage is usually "from seaward toward the harbour", but not always. It can reverse at a river mouth, a port boundary or a junction, and charts mark it with a magenta arrow. That means the same red buoy can be a leave-to-port mark on the outer approach and a leave-to-starboard mark a mile further in. If you carry one rule in your head, make it this: the colour does not tell you which side to pass; the direction of buoyage does.
Colour is the least reliable way to identify a mark. In low sun, in heavy rain, and against a quay lit up for the evening, red and green are surprisingly easy to confuse, and colour vision varies between people. Shapes and topmarks survive the light: cans, cones, and the topmarks that go with them. Where a buoy is lit, its light's rhythm and period identify it beyond argument. A chart entry like Fl R 4s 4M means flashing red, one flash every four seconds, nominal range four nautical miles. Count the flashes, time the period, and you know exactly which mark you are looking at.
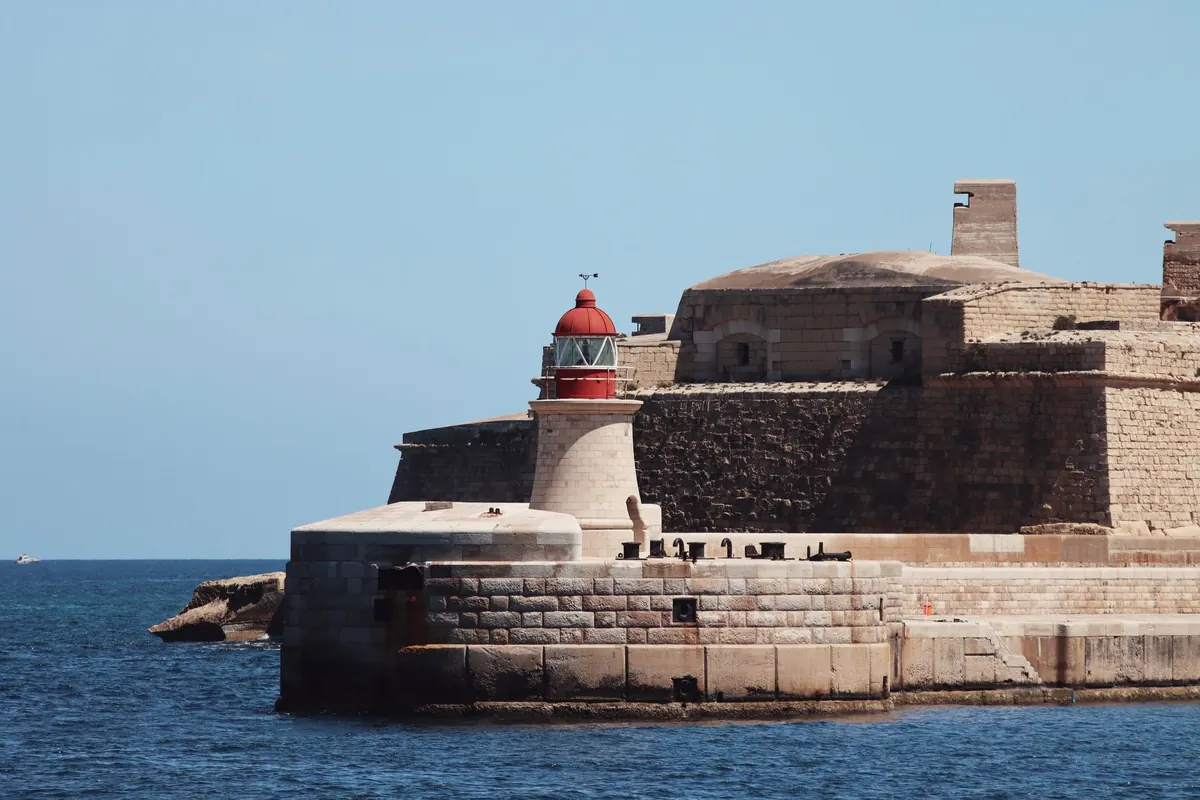
Sector lights are usually shore-based, mounted on a breakwater end, pier head or harbour wall. They shine different colours over different arcs, and each arc covers a defined slice of water. Most commonly the safe approach is covered by a white sector, with green and red covering the hazards to either side. Steer for the white; if it swings to green or red, you have drifted out of the channel and should turn back toward the white.
The important caveat is that the convention is not universal. Some harbours deliberately mark the safe water with a coloured sector, including red. This is why you note the charted sector bearings before you arrive rather than guessing from the colour you happen to see.
For each sector light, note the name and character, the colour of the safe sector, and the bearings where the colours change. Then convert those to roughly what you should see ahead of you on your chosen heading. When the light changes colour at night you want to know within a second whether the boat has drifted or the light is faulty — and you can only do that if the numbers are already written down.
A leading line is two marks arranged one behind the other, aligned with the centreline of the channel. The front mark is lower and closer, the rear mark taller so it stays visible above it. When the two are in line, you are on the line, which is normally the line of deepest water. When they open out, you have drifted to one side or the other.
Keeping two marks in transit is the most precise steering job available without instruments, and one person can do it by eye. Some leading lines are lit, and the front and rear lights often have deliberately different characters or colours so you can tell which is which in the dark. Pick the line up from well outside the entrance; do not wait until you are at the harbour mouth with a following sea to start looking for it.
Read your entry plan in order, light by light, as you come in, and rehearse it silently before dark. "After the outer green, I should see a flashing red on my port bow, then a white sector bearing about 040." A plan you can hear in your head is a plan you can check against reality.
Standing off costs fuel. Pressing on in doubt costs more.
None of this requires expensive equipment. It requires reading the chart before you leave, writing a short list, and then paying attention to the water ahead of you. The marks are not there to be memorised as a set of rules but to be read as a description of the harbour, and once you start reading them that way, unfamiliar entrances get a good deal calmer.
Photo: Efrem Efre / Pexels

A practical checklist for cross-border coastal cruising: the documents to carry, the safety gear officials ask...

Winter liveaboard life in Atlantic harbours rewards planning: read the marina contract, judge how the berth faces...

A practical guide to picking up a mooring buoy under power or sail, with approach plans, line handling, and safety...


Navigate the world's harbours with confidence..
